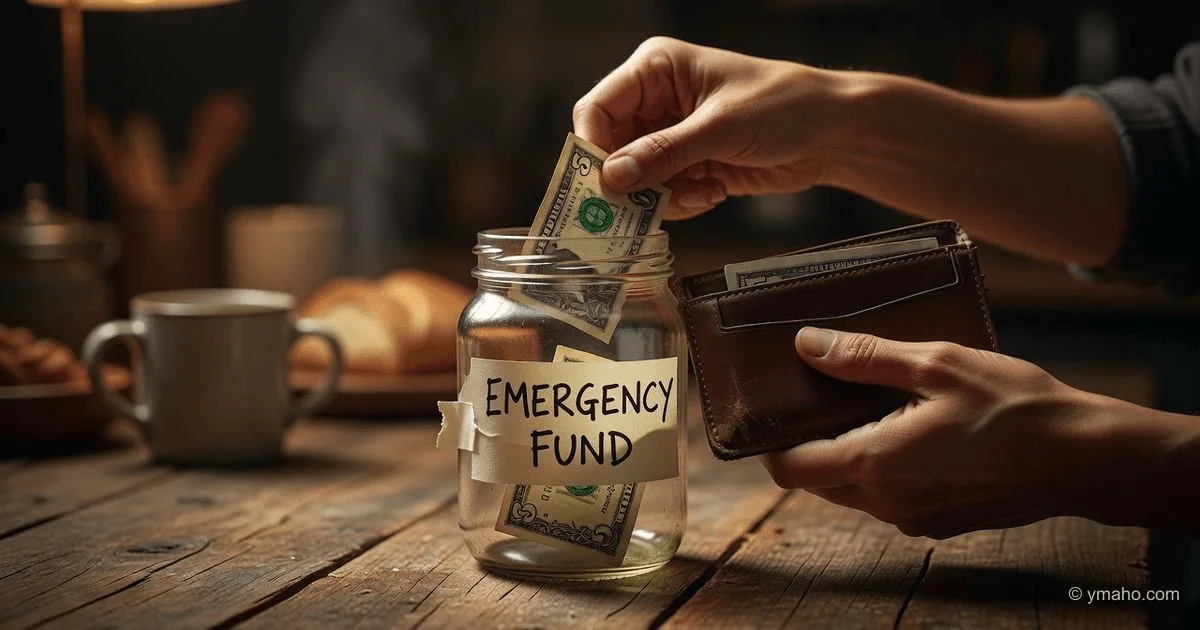
How to Start an Emergency Fund with Zero Savings
The concept of an emergency fund can feel like a luxury for those living paycheck to paycheck. When your bank balance is consistently near zero, the advice to save three to six months' worth of expenses seems not just daunting, but impossible. However, the consensus from financial research and behavioral economics is clear: even a small buffer significantly reduces financial stress and prevents a minor setback from becoming a catastrophic debt spiral. This guide provides a practical, step-by-step framework based on evidence and behavioral science for anyone wondering how to build an emergency fund from scratch, starting with the very next dollar you earn.
Starting from zero requires a shift from a "savings" mindset to a "system" mindset. By ruthlessly auditing your cash flow, automating micro-transfers, and temporarily pausing non-essential expenses, you can build a $1,000 starter fund faster than you think. The single most effective step is to automate a tiny daily transfer—as little as $5—before you have a chance to spend it.
Step 1: Conduct a Zero-Based Cash Flow Audit
Before you can save, you must understand exactly where your money is going. Financial experts at the Federal Reserve note that approximately 40% of Americans would struggle to cover a $400 emergency expense. To avoid this trap, you must perform a "zero-based" audit of the past 60 days.
- Gather Your Data: Download your bank and credit card statements for the last two months.
- Categorize Ruthlessly: Create a simple spreadsheet or use a free budgeting app to sort every single transaction into three categories:
- Fixed Essentials: Rent, utilities, insurance, minimum debt payments.
- Variable Necessities: Groceries, gas, essential clothing.
- Non-Essentials: Dining out, streaming subscriptions, premium coffee, impulse purchases.
The 24-Hour Rule: For every non-essential subscription or recurring payment, cancel it immediately. Based on a review of typical spending habits, a household often finds between $50 and $150 in "leaks" they were unaware of—these funds are your immediate seed capital for your emergency fund.
Step 2: The "Pay Yourself First" Micro-Automation
The most critical psychological hurdle to saving is the perception of scarcity. To overcome this, you must implement the "Pay Yourself First" principle, which is widely endorsed by behavioral economists at institutions like the University of Chicago. This principle dictates that your savings are a non-negotiable bill, just like your rent or electric bill.
- Start Small: Do not aim for 20% of your income. Aim for 1% to 2%. If you get paid bi-weekly, set up an automatic transfer of $10 to $20 to a dedicated savings account on payday.
- The Daily Drip: Services like Acorns or Qapital utilize a "round-up" feature, but a simple manual or scheduled daily transfer of $3 to $5 is a highly effective method for how to build an emergency fund from scratch. It is less painful to part with $5 a day than $150 at the end of the month.
⚠️ Crucial Caution: Do not keep this emergency fund in your primary checking account. The visual proximity to spending money makes it too easy to dip into. Open a separate, high-yield savings account at a different bank than your checking account to add a "friction layer" to withdrawals.
Google AdInline article slot
Step 3: The "Emergency-Only" Definition and Tiered Strategy
Many people fail to start saving because they overestimate what qualifies as an emergency. An emergency fund is for true emergencies: job loss, medical deductibles, necessary car repairs that impact your ability to work, or essential home repairs (like a broken water heater).
- Not an Emergency: Sales, vacations, new electronics, or "great deals" on clothing.
- Create a Tiered Buffer:
- Tier 1 (Immediate): A physical cash stash of $100. This covers a tow truck or a prescription refill.
- Tier 2 (Short-term): $1,000 in a savings account. According to a 2022 report from Bankrate, this amount is sufficient to cover the majority of common unexpected expenses, reducing the likelihood of resorting to high-interest credit cards.
- Tier 3 (Long-term): 1-3 months of expenses. This is the long-term goal after Tier 2 is achieved.
Step 4: The Temporary "Income Acceleration" Phase
If your current income barely covers your fixed expenses, savings will be mathematically impossible unless you increase your income or decrease your fixed outgoings. This requires a temporary, targeted sacrifice.
- The "Sell-Off" Sprint: List items on platforms like eBay, Poshmark, or Facebook Marketplace. This includes old electronics, furniture, or clothing with tags. This often yields a quick $200-$500 that can serve as the foundation for your Tier 1 buffer.
- Side Hustle Allocation: If you drive for a rideshare app, deliver groceries, or freelance, commit 100% of that income to your emergency fund until you hit the $1,000 mark.
- Negotiate Your Bills: Call your internet, cell phone, and insurance providers. Based on data from consumer advocacy groups, simply asking for a retention discount or reducing your plan speed can save you $20-$40 per month.
Step 5: Leverage "Windfall" and "Found" Money
This is where you can accelerate your progress without impacting your daily lifestyle. "Found" money includes tax refunds, birthday gifts, cash-back rewards, and work bonuses.
The 50/50 Rule: Allocate 50% of any windfall to your emergency fund and 50% to a "small reward" to reinforce the positive behavior. However, if you are starting from zero, consider allocating the first $500 of windfall money entirely to savings. The mental security gained from a $500 buffer—which the Federal Reserve data shows many Americans lack—is more valuable than a night out.
| Source of "Found" Money | Average Yield | Allocation Strategy |
|---|---|---|
| Tax Refund | $1,500 - $3,000 | 75-100% to Emergency Fund |
| Work Bonus | Varies | 50-100% to Emergency Fund |
| Cash-back Apps (e.g., Rakuten) | $10 - $50/month | 100% to Emergency Fund |
| Unwanted Gift Cards | $25 - $100 | Sell via gift card exchange; 100% to Fund |
Step 6: The "No-Buy" Challenge for Rapid Acceleration
To give your savings a serious boost, implement a 30-day "No-Buy" or "Low-Buy" challenge. This is a temporary, intense phase designed to jumpstart your fund.
- Ground Rules: Essential groceries and bills are allowed. Non-essentials (takeout, coffee shops, new clothes, entertainment) are banned.
- Replacement Behavior: Instead of buying a $15 lunch, commit to bringing a sandwich and transferring that $15 to savings at 2:00 PM.
- The Tracking Sheet: Use a notebook to track every time you "avoid" an expense. At the end of the week, transfer the total sum to your savings account. In a 30-day period, avoiding a $5 coffee and a $15 lunch five days a week yields $500 in savings alone.
Based on a synthesis of behavioral finance literature and economic trends, a reasonable conclusion is that the primary barrier to saving is not income level, but the "time discounting" bias—the tendency to value immediate reward over future security. By creating manual, immediate transfer rules (e.g., "I save $5 for every hour of overtime I don't take"), you force your brain to recognize the immediate benefit of financial security.
Step 7: Maintenance and Replenishment
Once you achieve the initial $1,000 milestone, the game changes. It is critical to view this fund as an insurance policy, not a pot of money.
- The Replenish Rule: If you must use the fund for a true emergency, your new "emergency" is refilling the fund. Reduce your variable spending temporarily until the fund is back to baseline.
- Increase the Contribution: Once the psychological "pain" of saving $1,000 has passed, your confidence will grow. Increase your automated daily transfer from $5 to $7 or $10.
- Celebrate the Win: Behavioral psychology suggests that acknowledging a milestone increases the likelihood of repeating the behavior. Reward yourself with a modest, budgeted celebration (e.g., a nice dinner) when you hit the $1,000 mark.
Frequently Asked Questions
1. How can I start an emergency fund when I can barely pay my bills? If your fixed costs exceed your income, you must first address the deficit. This requires either reducing fixed costs (e.g., getting a roommate, moving to a cheaper place) or increasing income (e.g., a second job). Once you break even, start with a $1/day transfer. It is the habit of saving, not the amount, that matters initially.
2. What is the minimum amount I should save before I stop? Do not stop. Your first milestone is $1,000. This amount, as noted by the Federal Reserve, is a critical buffer that prevents you from using high-interest credit cards or payday loans for small, unexpected bills. After that, aim for one month of essential expenses, then three months.
3. Should I pay off debt or save an emergency fund first? Focus on a "starter" fund of $500 to $1,000 before aggressively paying down high-interest debt (above 10% APR). This prevents you from going back into debt when an emergency occurs. After you have the starter fund, split your extra cash between building the fund to 3 months and paying down debt.
4. Where should I keep my emergency fund? In a separate, high-yield savings account (HYSA) at a different bank from your checking account. The money needs to be liquid (accessible within 1-2 days) but not so accessible that you spend it impulsively. Avoid investing it in stocks, as the market can drop exactly when you need the money most.
5. How do I protect my emergency fund from inflation? While inflation erodes purchasing power, the primary purpose of an emergency fund is safety and liquidity, not growth. Consider Series I Savings Bonds for a portion of your long-term (Tier 3) savings, but keep your $1,000 buffer in cash. The financial security it provides is worth the opportunity cost of lost interest.
— Editorial Team