How To Create A Crypto Wallet: Step-By-Step
How To Create A Crypto Wallet: Step-By-Step
A crypto wallet doesn't store actual coins but secures the private keys—the cryptographic "passwords" that grant access to your funds on the blockchain . Choosing the wrong type or mishandling your recovery phrase can lead to irreversible financial loss. This guide walks you through the entire process, from selecting a wallet type to executing your first secure transaction, ensuring you understand the trade-offs between convenience and security.
What You'll Learn
By the end, you'll understand the critical differences between custodial, software, and hardware wallets, and be able to confidently set up a wallet that matches your security needs. You'll know exactly how to generate, secure, and verify your seed phrase—the single most important factor in maintaining access to your cryptocurrency. You'll also learn how to perform a test transaction and recognize the most common threats that lead to stolen funds.
Choosing Your Wallet Type: The Foundation of Security
Before you can create a wallet, you must decide which type best suits your needs. This choice involves a fundamental trade-off between convenience and security . The table below outlines the three primary categories:
| Wallet Type | Custody | Security Level | Typical Cost | Best For |
|---|---|---|---|---|
| Custodial (Exchange) | Third-party | Low to Medium | Free | Beginners, active trading |
| Software (Hot) | Self-custody | Medium | Free | Daily transactions, DeFi access |
| Hardware (Cold) | Self-custody | Very High | $50 - $500 | Long-term storage of significant assets |
Understanding Custodial vs. Non-Custodial Wallets A custodial wallet, like those offered by exchanges such as Coinbase or Binance, means a third party controls your private keys. This is convenient because you can recover your account through traditional login methods, but it violates the core principle of cryptocurrency: "not your keys, not your coins" . If the exchange is hacked or becomes insolvent, you could lose access to your funds. In contrast, a non-custodial wallet puts you in full control, but also makes you solely responsible for key security .
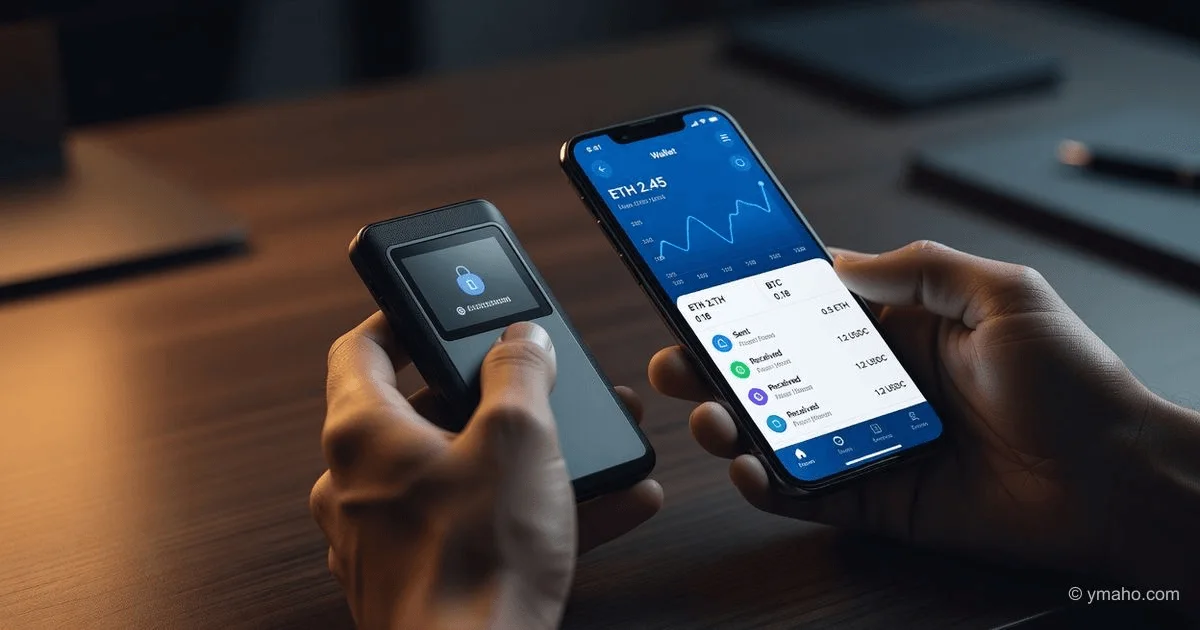
Software vs. Hardware Wallets A software wallet (a "hot" wallet) is an app on your phone, computer, or a browser extension . It is always connected to the internet, making it convenient but also vulnerable to malware, phishing, and hacking attempts . A hardware wallet (a "cold" wallet) is a physical device that stores your private keys offline. By keeping keys isolated from internet-connected devices, it offers the highest level of security, protecting you even if your computer is compromised . For any substantial amount of crypto, a hardware wallet is the recommended choice .
Step 1: Download or Purchase Your Wallet
Once you have chosen your wallet type, obtain it from the official source.
- For Software Wallets: Go to the official app store (Apple App Store or Google Play Store) or the provider's official website to download the application. Be vigilant against fake apps that mimic popular wallets to steal credentials .
- For Hardware Wallets: Order the physical device directly from the manufacturer, such as Ledger or Trezor. Never buy a used or second-hand device, as it may have been tampered with .
Step 2: Install and Initialize the Wallet
Open the app or plug in your hardware device. You will be prompted to create a new wallet. During this process, you will be asked to set up a PIN or password to protect access to the wallet on your device .
- For Hardware Wallets: You will typically set the PIN directly on the device using its physical buttons, which adds a layer of protection against remote attacks .
Step 3: The Most Critical Step—Back Up Your Seed Phrase
The wallet will now generate your seed phrase (also called a recovery phrase or mnemonic phrase)—a list of 12 or 24 random words . This is the master key to your wallet; anyone with this phrase can access and steal all your funds. There is no password reset or customer support that can recover it for you if you lose it .
How to Back Up Your Seed Phrase Safely
- Write it down physically: Use the card provided or a piece of paper. Write down the words exactly in the correct order .
- Store it securely: Store your written copies in secure, separate locations. For high-value holdings, consider a home safe and a bank safety deposit box .
- DO NOT store digitally: Never take a screenshot, save it in a note-taking app, or store it in the cloud. These are common attack vectors for hackers .
- DO NOT share it: No legitimate service will ever ask for your seed phrase .
⚠️ Security Warning: The most common way people lose their crypto is by sharing their seed phrase or storing it insecurely. Treat your seed phrase like the deed to your house—you would never hand it to a stranger or leave it lying around.
Step 4: Verify Your Seed Phrase
Most wallets will require you to confirm your backup by asking you to re-enter or select specific words from your seed phrase in the correct order . This crucial step confirms that you have written it down correctly. If you make a mistake here, you may not be able to recover your wallet later.
Step 5: Secure Your Wallet with Additional Measures
Now that your wallet is created, you can enhance its security:
- Enable Two-Factor Authentication (2FA): For custodial and software wallets, always turn on 2FA for an extra layer of protection .
- Use Biometrics: On mobile wallets, enable fingerprint or face ID to prevent unauthorized access if your phone is lost .
- Set Smart Contract Spend Limits: When connecting to decentralized applications (dApps), do not approve unlimited spending limits. Set limits to only the amount required for the transaction to mitigate the risk of your wallet being drained .
Step 6: Receive and Transfer Cryptocurrency
Your wallet is now ready to use. You can find your public wallet address in the "Receive" section. You can use this address to receive funds from an exchange or another wallet .
Sending a Test Transaction
Always send a small test transaction before transferring large amounts. This verifies that the address is correct and that you can successfully receive funds .
- Copy the Address Carefully: Cryptocurrency addresses are long, case-sensitive strings. A single mistake can send your funds to an unrecoverable wallet .
- Use the Correct Network: Ensure you are sending the right cryptocurrency on the correct blockchain (e.g., sending Ethereum to an Ethereum address, not a Bitcoin address) .
- Confirm the Transaction: The process can take several minutes to an hour to be confirmed on the blockchain. Once confirmed, you will see the balance in your wallet .
Sources
- Yahoo Finance. "How to set up a crypto wallet: A step-by-step guide."
- Communications of the ACM. "Security Principles for Designing an Unhackable Crypto Wallet."
- Ledger. "What is a Crypto Wallet?"
- Cake Wallet Docs. "Create new wallet."
- Bitpanda Academy. "Creating a crypto wallet – here's how."
- Ethereum.org. "Ethereum security and scam prevention."
- USDC. "Understand the Types of Crypto Wallets: A Complete Guide."
- MyEtherWallet Help Center. "Enkrypt: Create/ Restore a Wallet, Buy and Sell Crypto."
- Ledger. "Crypto Wallet Security Checklist 2026."
- Ledger. "What Are the Different Types of Crypto Wallets?"
— Editorial Team